How to Add a Weatherboard Extension to Your Brick House?
Adding a weatherboard extension to your brick house can transform your living space and boost your property’s value.
At Cameron Construction, we’ve seen firsthand how these extensions blend modern aesthetics with traditional charm.
This guide will walk you through the process of creating a weatherboard extension on a brick house, from planning to completion.
Planning Your Weatherboard Extension
Assess Your Existing Structure
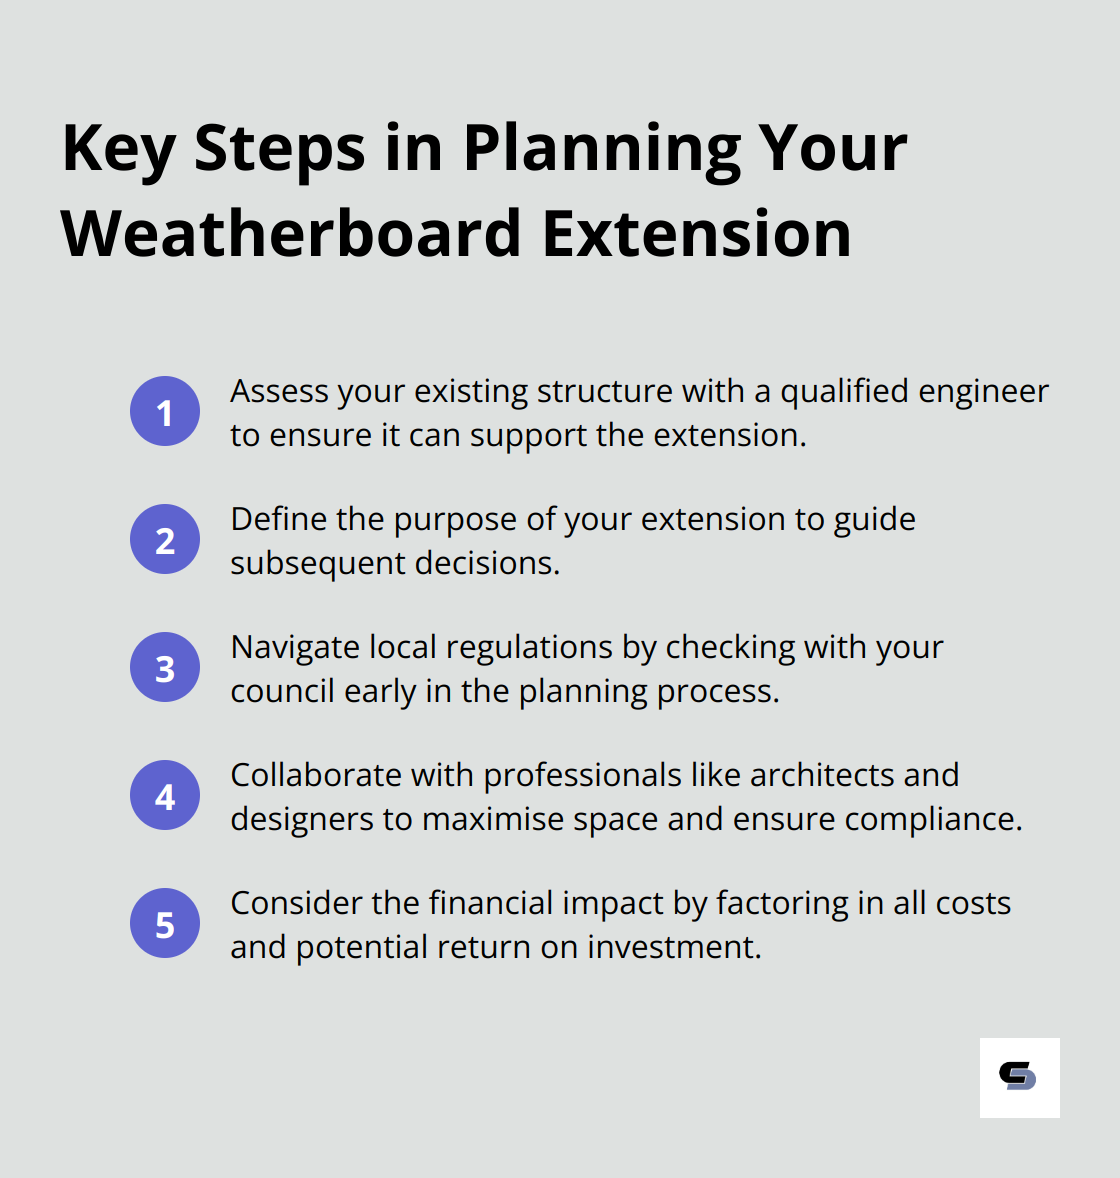
Before you start designing, evaluate your current brick house. A qualified engineer must perform a thorough structural assessment to determine if your existing foundation can support a weatherboard extension. This step is essential and will prevent costly issues in the future.
Define Your Extension’s Purpose
Identify the main reason for expanding your space. Do you need room for a growing family? Are you looking to add a home office? Or do you want to increase your property’s value? Your specific daily use for the new space will guide all subsequent decisions.
Navigate Local Regulations
Melbourne’s building regulations can be complex (and often change). These rules vary by location, so check with your local council early in the planning process.
Collaborate with Professionals
Weatherboard extensions require specialised knowledge. Architects can help maximise space and light, ensuring your extension complements your brick house beautifully. Professional designers and engineers work closely with clients to bring their visions to life while adhering to all local building codes.
Consider the Financial Impact
A well-planned weatherboard extension can increase your property value. This potential return on investment makes meticulous planning even more important. Factor in all costs, including materials, labour, and permits, to create a realistic budget for your project.
The next step in your weatherboard extension journey involves selecting the right materials. This choice will impact not only the aesthetics of your home but also its durability and maintenance requirements.
Weatherboard Materials for Your Extension
Types of Weatherboard
Timber weatherboards offer a classic, natural look. You can paint or stain them to match your brick house. They require regular maintenance to prevent rot and pest infestation.
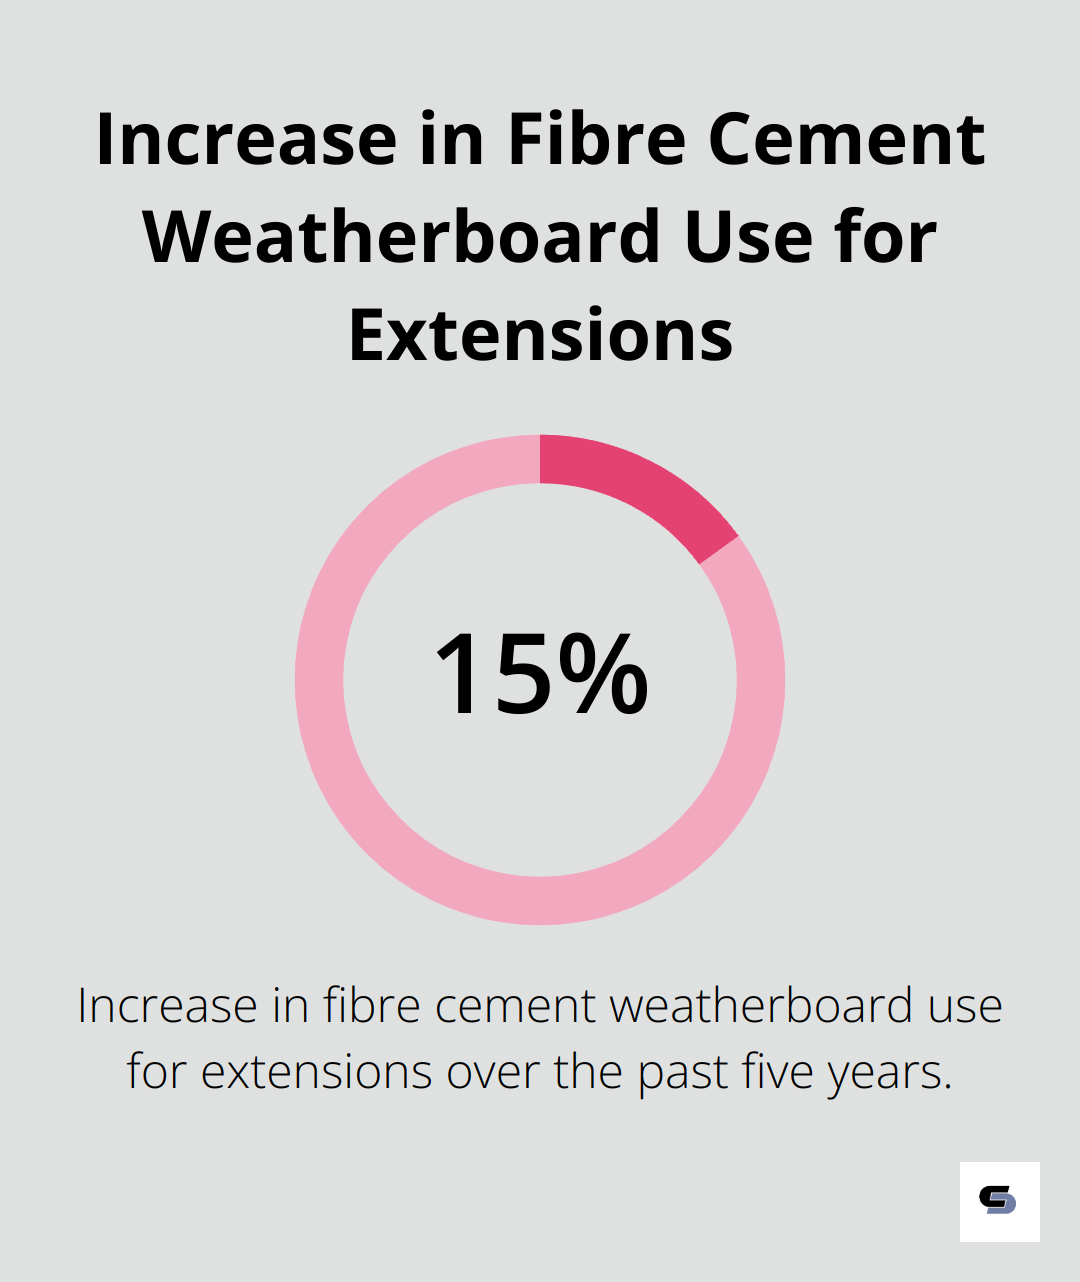
Fibre cement weatherboards have gained popularity. They are engineered for durability, fire resistant, rot resistant and resistant to moisture damage, making them an ideal low maintenance alternative. The Housing Industry Association reports a 15% increase in their use for extensions over the past five years.
Vinyl weatherboards provide the most affordable option. They weigh less, install easily, and need minimal maintenance. However, they might not give the same authentic look as timber or fibre cement.
Durability and Maintenance
Fibre cement weatherboards can last 50 years or more with proper care. They resist rot, termites, and fire better than timber. Timber weatherboards, while beautiful, might need repainting every 5-7 years to maintain their appearance and protection.
Vinyl weatherboards can last up to 40 years and only need occasional cleaning. However, they can crack in extreme temperatures and may fade over time.
Cost Considerations
Timber weatherboards cost between $30 to $50 per square metre. Fibre cement ranges from $25 to $40 per square metre. Vinyl is the cheapest at $20 to $30 per square metre. Factor in installation costs, which can vary based on the material and your location.
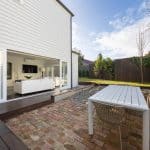
Complementing Your Brick House
When you choose colours and finishes, consider your existing brick colour and home style. Light-coloured weatherboards can create a striking contrast against red brick, while darker shades can complement brown or grey bricks.
For a cohesive look, match the weatherboard colour to your window frames or roof. This creates a harmonious transition between the existing structure and the new extension.
Energy Efficiency
Proper insulation plays a key role in energy efficiency for your weatherboard extension. The Australian Building Codes Board recommends minimum Total R-Value of 3.8 for external walls in certain climate zones.
Try using insulated weatherboards or add an insulation layer behind standard weatherboards. This can reduce heating and cooling costs by up to 15% (according to the Department of Industry, Science, Energy and Resources).
The selection of weatherboard materials sets the foundation for your extension project. Now, let’s move on to the actual construction process, where these materials come together to form your new living space.
Building Your Weatherboard Extension
Foundation and Framework
The foundation forms the backbone of your extension. We recommend concrete slab foundations for weatherboard extensions. These provide excellent stability and moisture resistance. Site preparation involves excavation, levelling, and soil compaction. This step takes 1-2 weeks (depending on site conditions).
For the framework, treated pine offers durability and cost-effectiveness. We align the frame precisely with the existing structure to ensure a seamless transition. This phase typically lasts 2-3 weeks for an average-sized extension.
Weatherproofing and Insulation
Weatherproofing protects your investment. A high-quality breathable membrane allows moisture to escape while preventing water ingress. However, it’s important to note that weatherproofing can encourage mould growth if exposed to regular moisture. An appropriately specified and installed vapour control layer is essential.
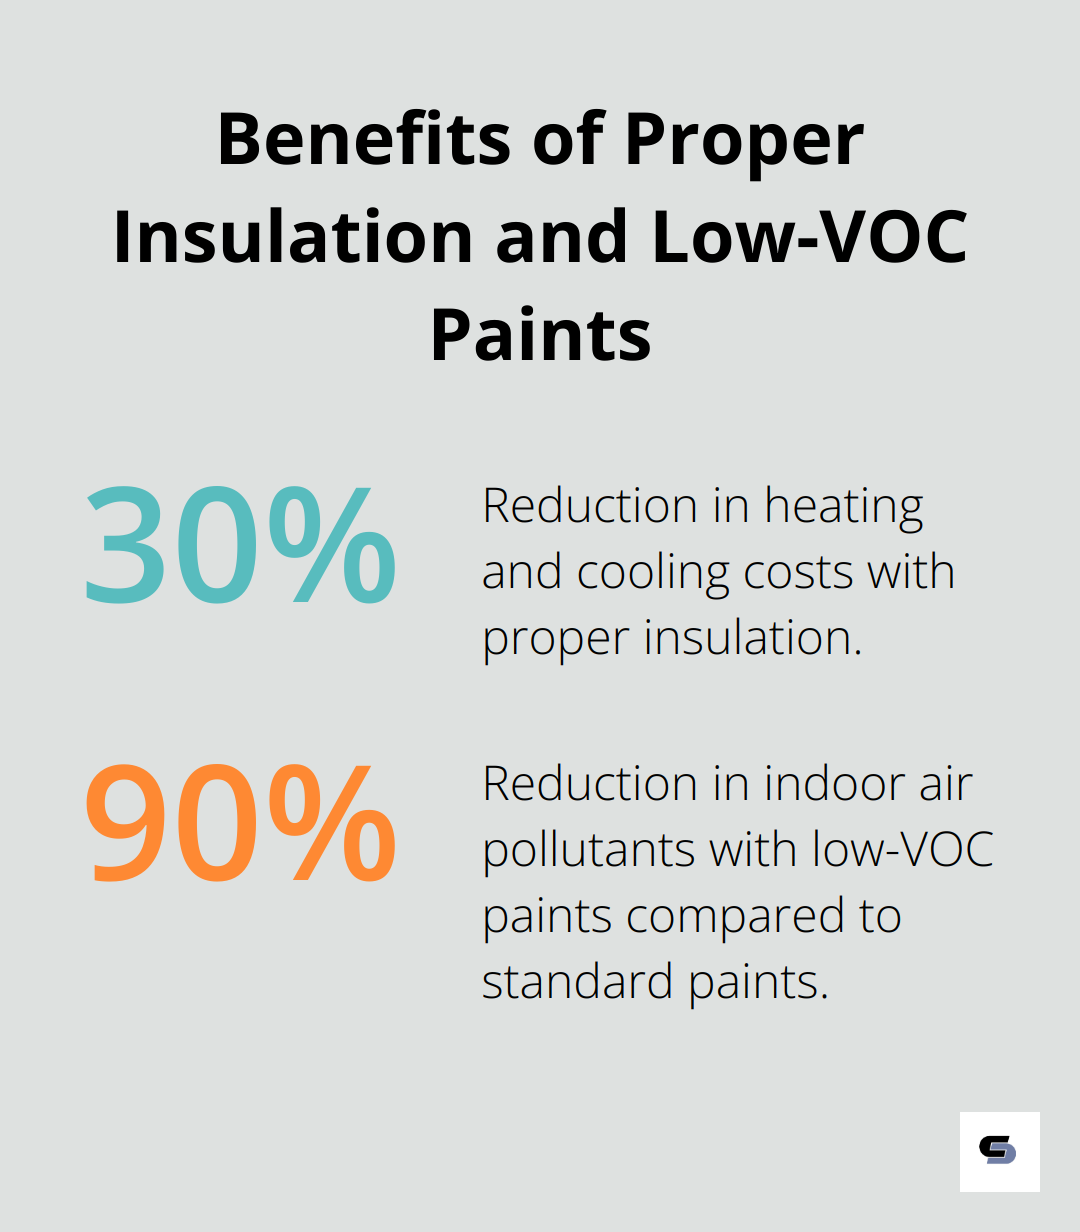
For insulation, polyester batts with an R-value of 2.5 for walls and 4.0 for ceilings work well. This insulation level can reduce heating and cooling costs by up to 30%.
Attaching Weatherboards
The attachment method depends on the chosen material. For fibre cement boards, we use galvanised nails and leave a 1mm gap between boards for expansion. Skipping this gap can lead to warping and cracking within a year.
Timber weatherboards require more care. We pre-drill holes to prevent splitting and use stainless steel nails to avoid rust stains. The overlap between boards should measure at least 30mm to ensure proper water runoff.
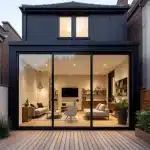
Roofing and Guttering
Integrating the new roof with the existing structure requires precision. Colorbond steel roofing offers durability and a wide range of colours. The pitch of the new roof must match or complement the existing roof to maintain aesthetic harmony.
Proper guttering manages water effectively. We install gutters with a minimum fall of 1:500 towards downpipes. This slope ensures efficient water flow and reduces overflow risk during heavy rains by up to 90%.
Finalising the Extension
The final phase connects utilities and finishes the interior. Electrical and plumbing work must comply with Australian Standards AS/NZS 3000 and AS/NZS 3500 respectively. Licensed professionals handle these tasks to ensure safety and compliance.
Interior finishing takes 3-4 weeks. This includes plastering, painting, and fixture installation. Low-VOC paints minimise harmful emissions and can reduce indoor air pollutants by up to 90% compared to standard paints.
Regular inspections by a qualified building surveyor ensure compliance with the National Construction Code (NCC), which provides nationally consistent, minimum technical standards for the design and construction of new buildings and new building work in existing buildings.
Final Thoughts
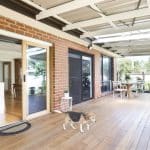
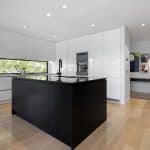
A weatherboard extension on a brick house transforms your living space and boosts property value. This unique blend of traditional and modern aesthetics creates a distinctive charm that sets your home apart. The versatility of weatherboard allows for creative design solutions, adapting to your specific needs for additional living space, a home office, or an expanded kitchen.
Professional expertise plays a vital role in navigating local regulations, ensuring structural integrity, and selecting the right materials. High-quality weatherboards, proper insulation, and durable roofing materials enhance aesthetic appeal and contribute to energy efficiency and long-term durability. These choices can lead to significant savings on energy costs and maintenance in the years to come.
Your weatherboard extension project represents an investment in your home and lifestyle. With careful planning, quality materials, and expert execution, you can create a seamless addition that meets your current needs and adds lasting value to your property. We at Cameron Construction encourage you to approach your extension project with confidence, knowing that with the right support, your brick house can become a more spacious, functional, and beautiful home.